In this tutorial I will show you how to make a simple bolster cushion. Either to cover an existing cushion that you already have or to create the inner for a cover that you want to make.
Note this project will not have a fastening and will be closed shut with a slip stitch. This is ideal for the inner cushion filler and I would recommend making another cover with a zip fastening to be removed to clean. See my CHEEKY MONKEY BOLSTER PATTERN.
Firstly lets draft a pattern –
You will require paper big enough to make a pattern Ikea MALA drawing paper or Recycled Kraft paper on a roll works great. Otherwise the reverse side of wall paper could work too.
You will also need a tape measure, compass to draft a circle, pencil, scissors and a long ruler.
Firstly you need to determine 3 measurements to make your pattern:
D – Diameter – measure or decide on this, then add 1″

C – Circumference (Circumference = Diameter x 3.14)
Now let’s measure or decide how long you want the cushion to be. Is it to sit on a sofa, draft excluder, or are you covering an existing cushion? Standard length is usually 21″ (53cm) but this is your project so you decide.
L – Length – measure or decide on this, then add 1″

With your measurements you can now draft a paper pattern.
Use a compass to draw your circle to the correct diameter and make 4 notches at equal points (top/bottom/left/right) to help you later when sewing (See photo below)
If you would like to download a pattern planning sheet click the image below, this is not a to scale pattern just a planning sheet to help you. prepare.

NOTE – We have added 1″ to the diameter and length measurements to account for seam allowances, which will equate to 1/2″ seam allowance when sewing your cushion together.
Now that we have a pattern let’s get sewing!
For the sample I used a lightweight cotton.
CUT your fabrics 1 main body piece and 2 end circles (note the notches on my end pieces, these will help me match to seams on the main body)

(If you have an overlocker serge all your edges now, if not that’s no problem)
Fold the MAIN body piece in half long ways RST (right sides together) and notch the fold with a little cut (this will help match the circle ends).
SEW leaving a 10cm (4″) gap, remember to back stitch/reverse when starting and finishing your seams.

PRESS seams open

(Keep main tube inside out)
Bring together one of your circle ends to the main body RST and pin. If you have wonderclips these are handy and will not prick your fingers (match notches as mentioned above).

SEW slowly and carefully. I like to keep the circle piece on top so that I can control the turning.

REPEAT with the other circle end.

Turn through your cushion and STUFF heavily with your favourite toy or cushion filling. (I really like Trimits toy stuffing) I suggest you may need 500g minimum.

STITCH the gap closed with your neatest hand stitch. I find a simple ladder stitch works best (you could google this if you are not familiar).

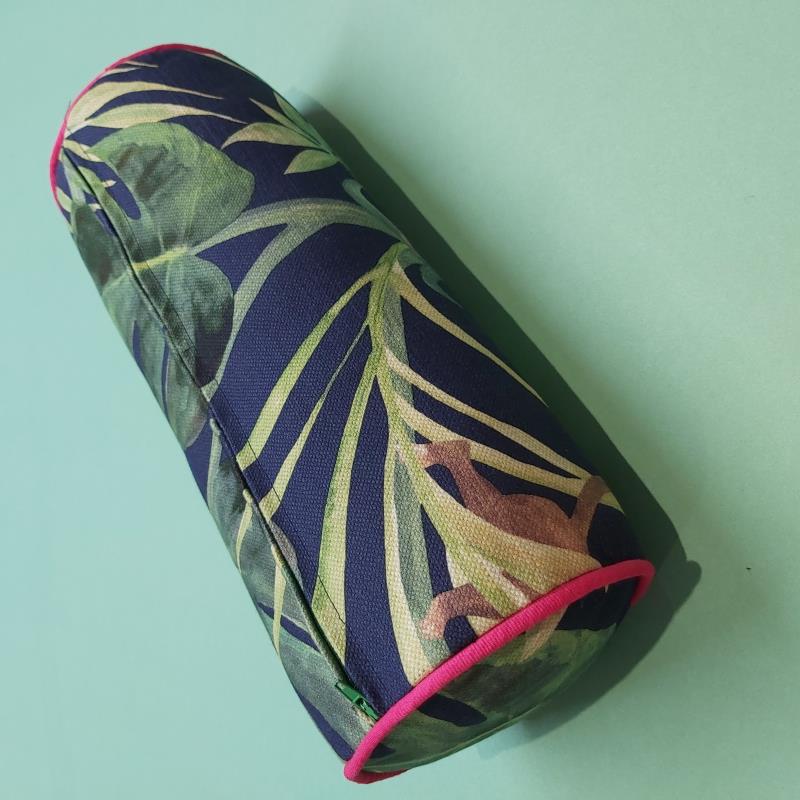
ET VOILA! you should now have a simple bolster cushion which you can choose to cover with a washable slip cover or leave it as it is if it is fit for your intended purpose.

This project would work well for so many things eg. Bolster cushion for your sofa, long pillow bolster, draft excluder or my favourite a yoga bolster for Yin practice. Whatever your intention you should be able to follow this technique by adapting your initial measurements.
When making a slip cover consider adding 0.5cm (1/4″) to your measurements for ease.
See my Cheeky Monkey Bolster cushion cover