
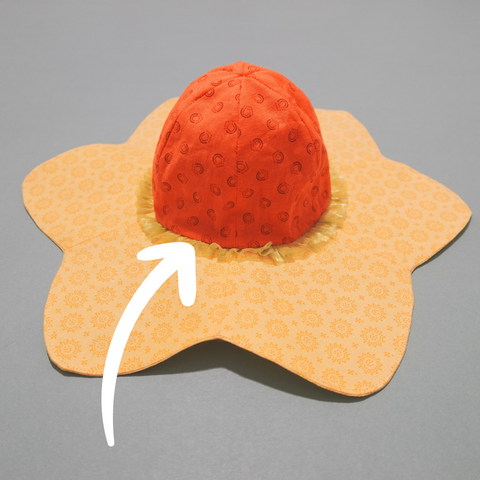
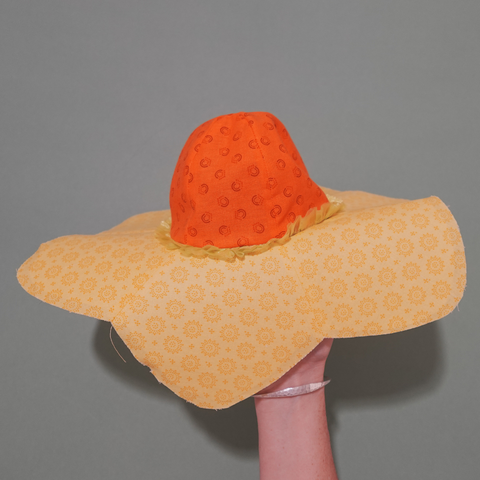
How cute would a daffodil look as a sun hat?! That's what I was saying when drawing out this design.
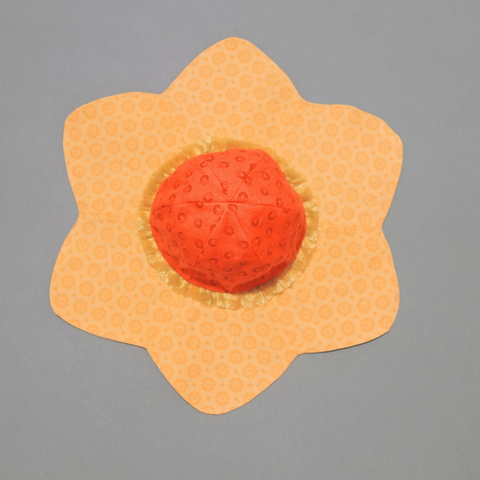
I love flowers and this sewing pattern had to happen.
If you liked my Reversible kids sun hat you'll love this little cutie, inspired by the Spring Daffodil.
Realistically the fabrics you choose will make this hat look like any cute flower but if you choose yellows then the petal shape deliberately emulates the Daffodil.
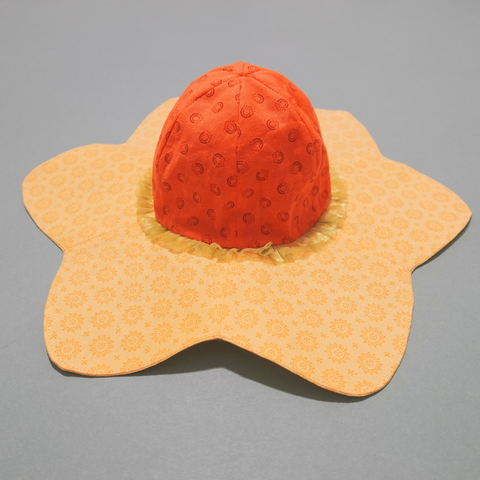
The geometric design makes this a fairly simple construction and a fun sewing project suitable for advancing beginners.
Get the PDF print at home sewing pattern HERE and find the full sewing instructions and kit list below.

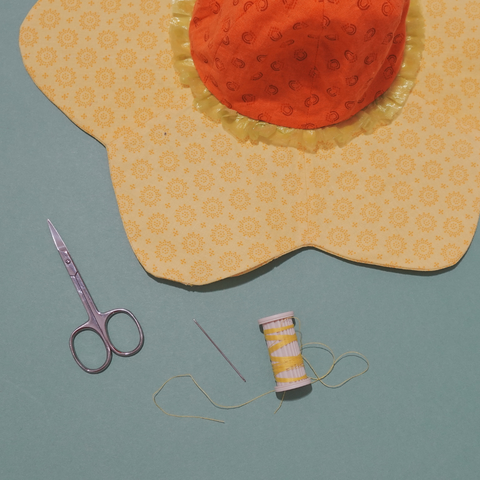
For this project you're going to need the following materials and kit:
MATERIALS
2 Fabrics - I recommend a medium to lightweight cotton
Fabric 1 for the cap (center of the flower)
Fabric 2 for the brim (petals)
Medium to heavy weight fusible interfacing
Optional ribbon for frill detail
Matching or contrasting threads
KIT
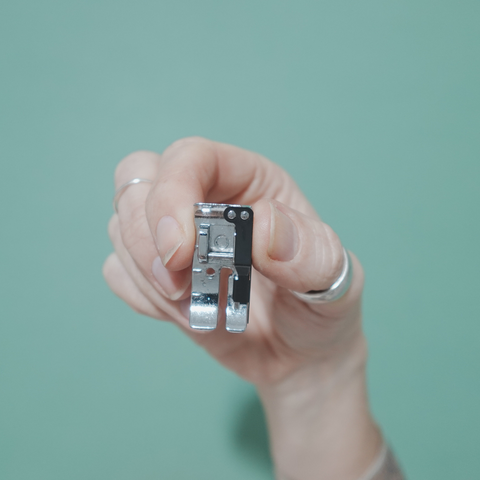
The seam allowances are small in this project to avoid bulky seams so I like to use a 1/4" guide foot. It's not crucial just a handy tool.
Gather all your materials and kit and let's go...
If you are using this tutorial along with the pattern join my Facebook PATTERN CLUB where you can chat to me directly (and others using this pattern).
STEP 1
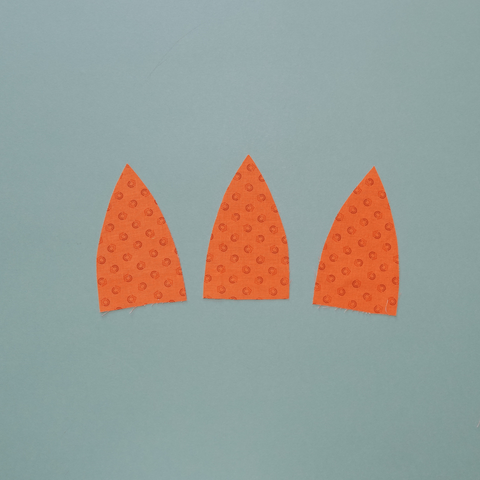
CUT OUT all your pattern pieces, you will make 2 hats that will join to make this design reversible or simply lined with all seams hidden. Cut 12 cap segments and 12 petal brim segments.
REMEMBER to follow straight grain otherwise your pattern pieces will pull out of shape


STEP 2 - MAKING THE CAP
Take 3 of your cap segments and join them RST (Right Sides Together) to make half a cap.
Repeat with another 3 pieces and then join the two halves to make 1 full cap.
TOP TIP - Press as you go!

STEP 3 - MAKING THE BRIM
SEW 6 petal pieces together RST at side seams to form a continuous ring.
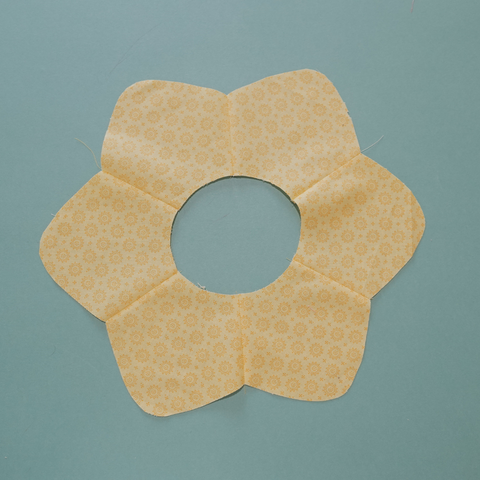
PRESS all seams open.
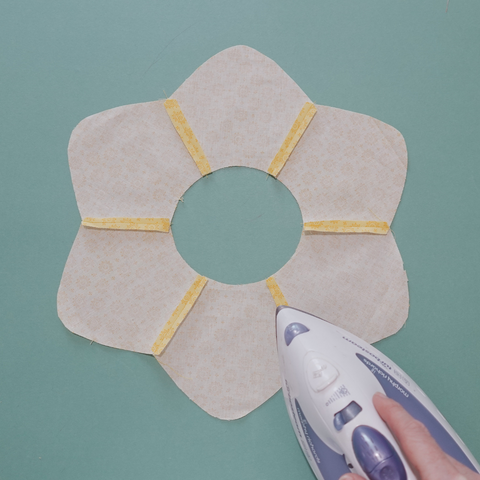
STEP 4 - STIFFENING THE BRIM
Trace around your brim shape leaving a -3mm margin so that the interfacing is slightly smaller and does not quite meet the edges.
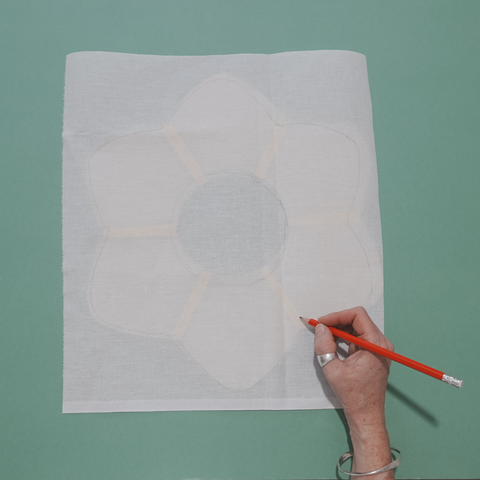
Attach interfacing/stabilizer to the WRONG side of your brim.
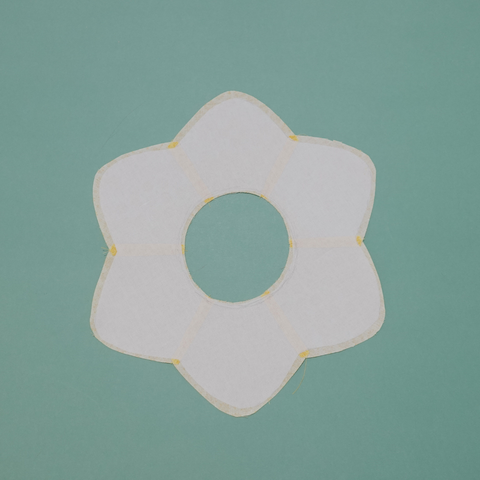
TOP TIP - I like to use fusible interfacing so I place a thin cotton fabric barrier between my iron and the fabric to avoid any sticky mistakes
STEP 5 - OPTIONAL FRILL DETAIL
If you would like to add a frill into your hat, as I did on the sample, read on. Otherwise SKIP to Step 6 now. Note that if you want the hat to be reversible best not to add the frill.
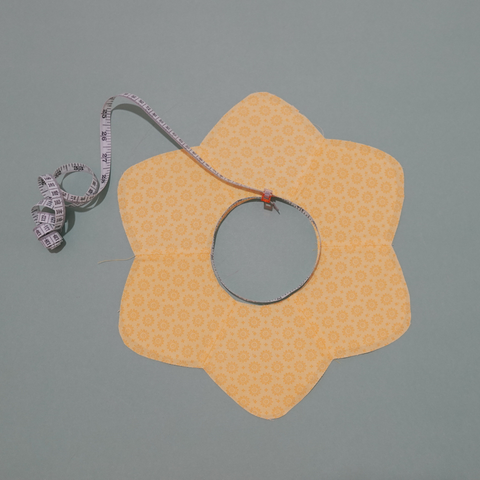
Measure the inner circumference of your brim and cut a length of ribbon twice the length.
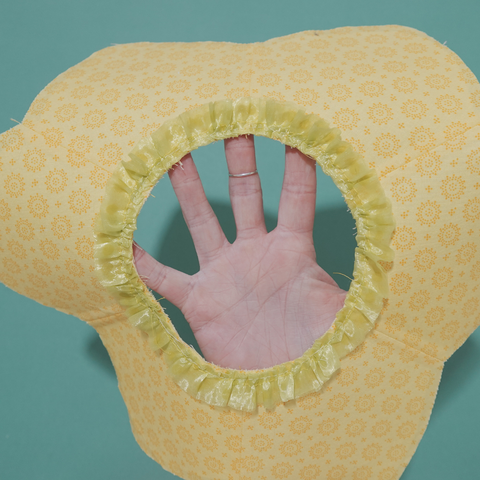
GATHER your ribbon to the exact length required by sewing a LONG STITCH all the way along one edge and pulling the thread to gather up the ribbon to your desired size.


BASTE (tack) the gathered ribbon to the inner circle seam of your brim (this will keep it still during the next step)

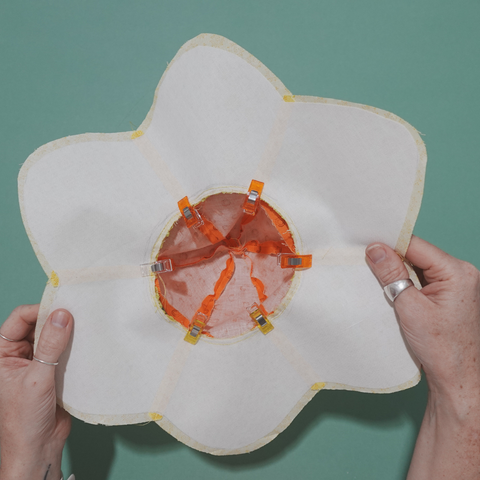
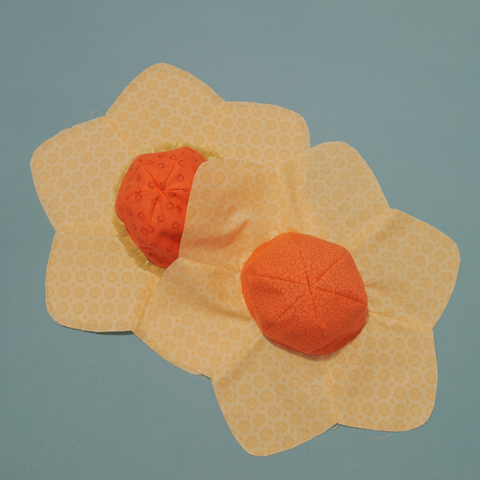
STEP 6 - JOIN CAP AND BRIM
CLIP brim and cap RST and SEW matching cap and petal segment seams as notches.
STEP 7 - MAKE 2ND HAT
REPEAT steps 1-6 to make another hat, but DO NOT STIFFEN the second brim or add another frill.
STEP 8 - JOIN YOUR HATS
JOIN your two hats RST matching petals and seams as notches.
VERY IMPORTANT - leave a 3" gap in one of the petals for the next step.

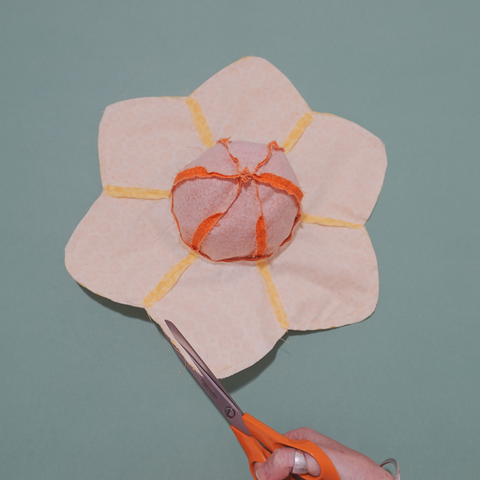
TOP TIP - Pivot at the seams for a crisp outline
Carefully CLIP seams especially the interfacing
At this point your hat should be inside out, TURN IT THROUGH (this step is fiddly and requires patience!)
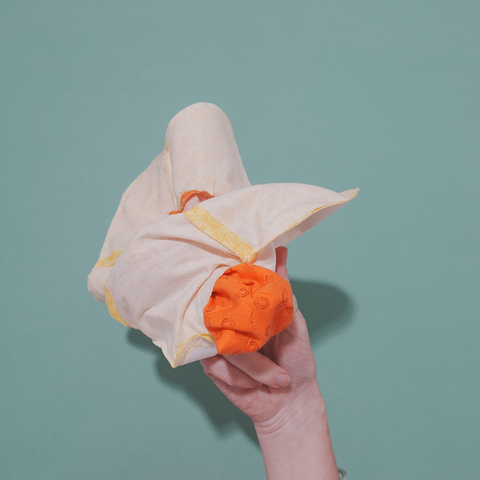
ROLL and PRESS the brim edges.
STEP 9 - FINISH
To finish up your hat HAND STITCH the gap in the petal closed and then TOPSTITCH 2mm around the outside brim edge.
STEP 10 - DO A HAPPY DANCE! And make lots more.
I hope that you liked this project as much as I do, if you make this hat please let me know in the comments below I would love to get your feedback.
And if you you are on Insta or Fb share with me @frecklesandcocraft
Until next time, Happy Sewing


