
I recently I commandeered a small corner of our classroom to set up a sewing space whilst I am between studios. I needed a desk space, somewhere to store my sewing machines, a solution for all my fabric and sewing tools, and most of all this space needs to stay tidy!
Sounds impossible doesn't it...

I managed though! Read on to get the details.
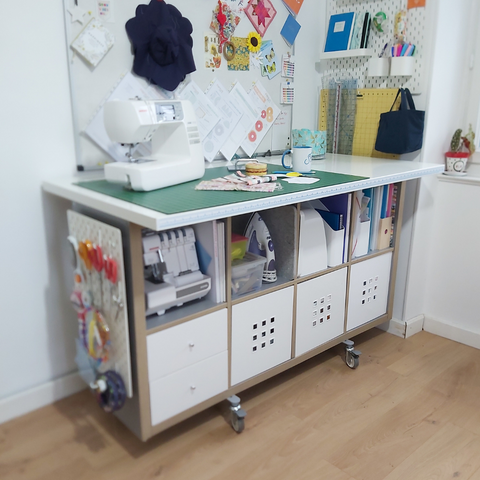
With a couple of IKEA old favourites, I was able to create a SEWING STATION that really suits my needs, moves around the room and fits (most of) everything I need to sew without having to clear everyone out and everything off the dining table each time I want to sew.
I think this solution could be a fix for anyone with limited space, time and budget. I used furniture that I already had but if you were to create this from scratch IKEA makes it pretty easy.
At the bottom of this post you'll find a full list of the parts I used to create this sewing station including links to help you recreate any element of it for yourself. Alternatively I bet you could do this really cheaply getting second hand IKEA bargains on Facebook marketplace.
Here's how I did it:
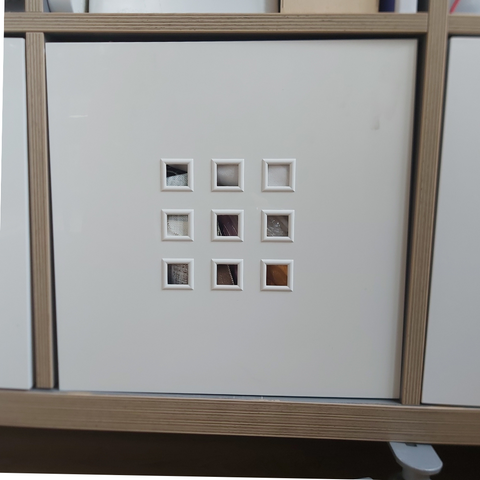
STEP 1 MAIN UNIT
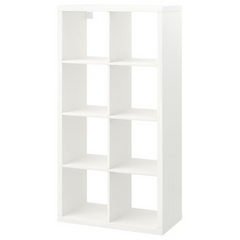
To create the main station I started with an 2x4 KALLAX unit. This comes in several fun colours but I had white to hand. In future I think I would choose the brightest colour and mix it with contrasting extras.

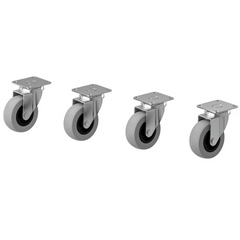
STEP 2 WHEELS
The sewing station is pretty awesome but the best bit I think has to be the castor wheels. Adding the wheels make the unit mobile and I can move it around to suit the project.

STEP 3 TABLE TOP
Next add a table top. Any table top will work but if you are starting from scratch as long as the top is longer than 150cm and wider than 50cm. I used the old IKEA LINDEM but I think the TROTTEN will work great. Don't forget to add a large self healing mat to protect your table top from scratches and cuts
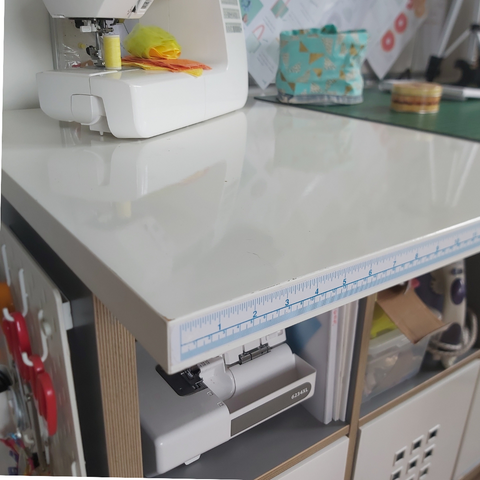
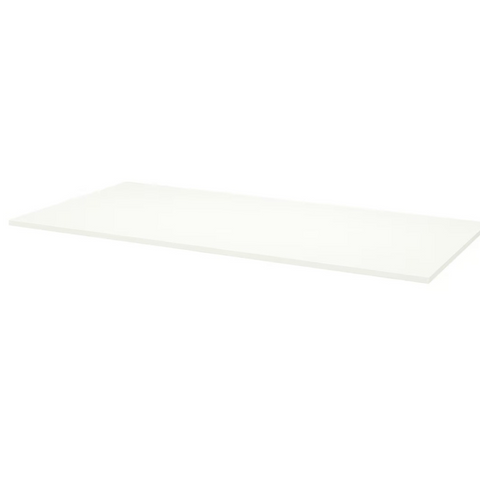
I also added a adhesive tape measure to the edge of my table top, which I find really helpful when you need to make a quick measurement or cutting long lengths of fabric.
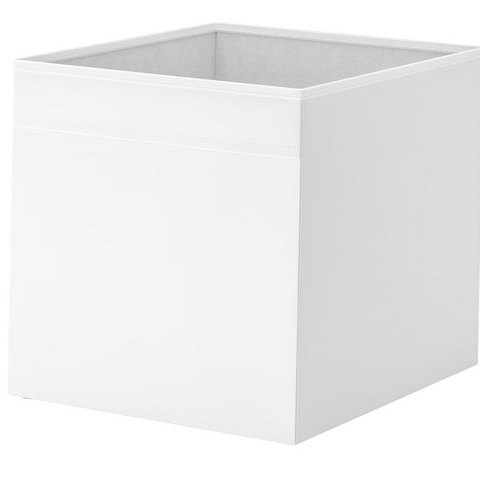
STEP 4 STORAGE
For storage of patterns and fabrics stash I added the boxes and drawer insert
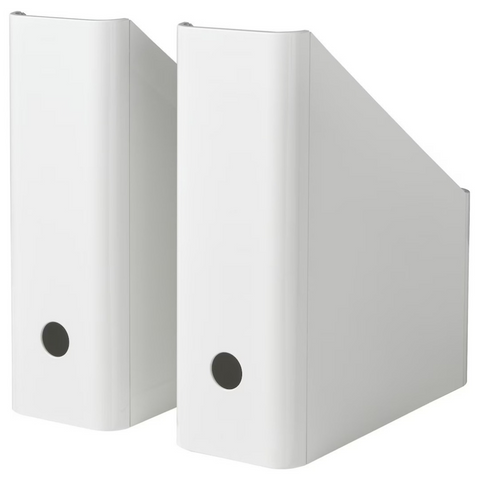
To organise my notebooks and magazines I used IKEA KUGGIS magazine files that allow me to separate projects and keep the shelves tidy. The magazine files vary in price but I find that the solid plastic ones hold better than the cardboard ones that are cheaper.

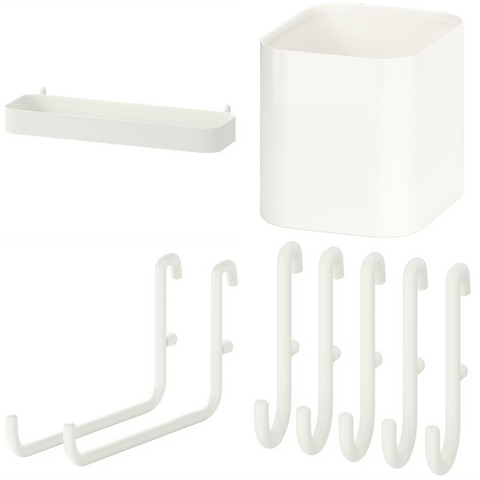
STEP 5 PEG BOARD
To hold my fav sewing tools and make sure I can always find my essential kit, I added a peg board to the end of the KALLAX.


If you'd like to recreate this sewing station for yourself here's what you'll need:
I created a PDF shopping list if you want to print it, note prices are in GBP but of course IKEA is worldwide and the product names are universal.
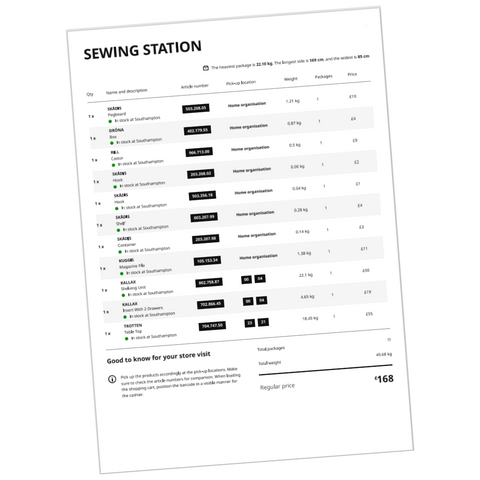
ESSENTIALS
- KALLAX unit
- TROTTEN desk top
- Storage boxes
- KALLAX storage drawers
- SKADIS Peg board
- RILL castor wheels
EXTRAS
I hope that you found this blog post helpful, if you recreate this sewing station let me know in the comments below I'm sure you'll find new ways to use it and adapt to work for you, which I would love to hear about. If you you are on Insta or Fb share with me @frecklesandcocraft
Until next time, Happy Sewing


2 comments
That’s really great Linzi! Thanks for the inspiration :-)
YIOU ARE AMAZING :) xx